
Best Travel Tips for Better Travel Photography Days
Travel photography captures more than just places—it preserves moments, emotions, and stories. Whether you’re exploring a bustling city or a quiet mountain trail, great photos start with smart preparation. This guide shares practical, field-tested advice to help you take better travel photos, regardless of your camera or experience level. From timing your shots to packing light, these tips will help you return home with images that truly reflect your journey.
Plan Your Shots Before You Go
Great travel photography begins before you even leave home. Research your destination to identify iconic landmarks, hidden gems, and optimal shooting times. Use apps like PhotoPills or The Photographer’s Ephemeris to track sunrise, sunset, and moon phases. Knowing when and where the light will be best saves time and increases your chances of capturing stunning images.
Make a flexible shot list. Include must-have scenes like local markets, street life, or panoramic views. But leave room for spontaneity—some of the best travel photos happen when you least expect them.
Scout Locations in Advance
Use Google Street View or travel blogs to preview locations. Note potential vantage points, crowd patterns, and lighting conditions. For example, if you’re visiting the Colosseum in Rome, plan to arrive early to avoid midday crowds and harsh shadows.
Check local event calendars. Festivals, parades, or religious ceremonies offer rich visual opportunities. Just be respectful—always ask permission before photographing people, especially in cultural or sacred settings.
Pack Smart for Photography
Travel light, but don’t skimp on essentials. Bring a versatile zoom lens (like a 24-70mm) for flexibility, and a prime lens (such as a 35mm or 50mm) for sharper, low-light shots. A lightweight tripod is invaluable for long exposures, night photography, or self-portraits.
Protect your gear. Use a padded camera bag, silica gel packs to prevent moisture, and lens filters to shield against dust and scratches. If you’re traveling to humid or rainy destinations, consider a weather-sealed camera body.
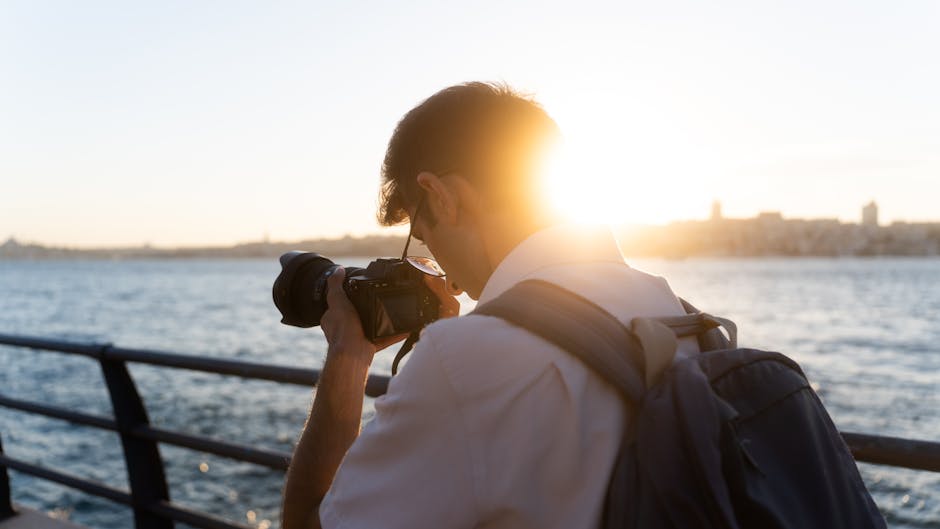
Master the Light
Light is the foundation of photography. The golden hours—shortly after sunrise and before sunset—offer soft, warm light that enhances textures and reduces harsh shadows. These times are ideal for landscapes, portraits, and cityscapes.
Avoid shooting in the middle of the day when the sun is high. The light is often too harsh, creating unflattering contrasts and blown-out highlights. If you must shoot then, look for shade or use a diffuser to soften the light.
Use Natural Light Creatively
Window light is a powerful tool, especially in indoor settings. Position your subject near a window for soft, directional lighting. This works well for portraits in cafes, temples, or homes.
Backlighting can create dramatic silhouettes. Try shooting a person walking along a beach at sunset with the sun behind them. Use spot metering to expose for the background and let the subject fall into shadow.
Experiment with Night Photography
Night shots add variety to your travel portfolio. Use a tripod to stabilize your camera and allow for longer exposures. Capture city skylines, lit monuments, or star trails in remote areas.
Start with a low ISO (100–400) to reduce noise, and use manual mode to control aperture and shutter speed. A wide aperture (f/2.8 or lower) lets in more light, while a slow shutter (10–30 seconds) captures motion blur in moving lights.
Focus on Composition
Strong composition turns a good photo into a great one. Use the rule of thirds: imagine your frame divided into nine equal parts. Place key elements along these lines or at their intersections.
Leading lines—roads, rivers, or fences—guide the viewer’s eye into the image. In a photo of a winding path through a forest, the path draws attention to a distant cabin or mountain peak.
Frame Your Subject
Use natural frames like archways, trees, or windows to add depth. A photo of a temple through a stone doorway creates layers and context. This technique also helps isolate your subject from distracting backgrounds.
Get low or climb high. Changing your angle can transform an ordinary scene. Shooting from ground level makes a flower field feel vast, while a high vantage point reveals patterns in a crowded market.
Simplify the Scene
Clutter distracts from your subject. Use a wide aperture (like f/1.8) to blur the background and create a clean, focused image. In a busy street scene, this isolates a street vendor or performer.
Look for negative space—areas of empty sky, water, or pavement. Placing a small subject against a large blank area creates balance and emphasizes isolation or scale.
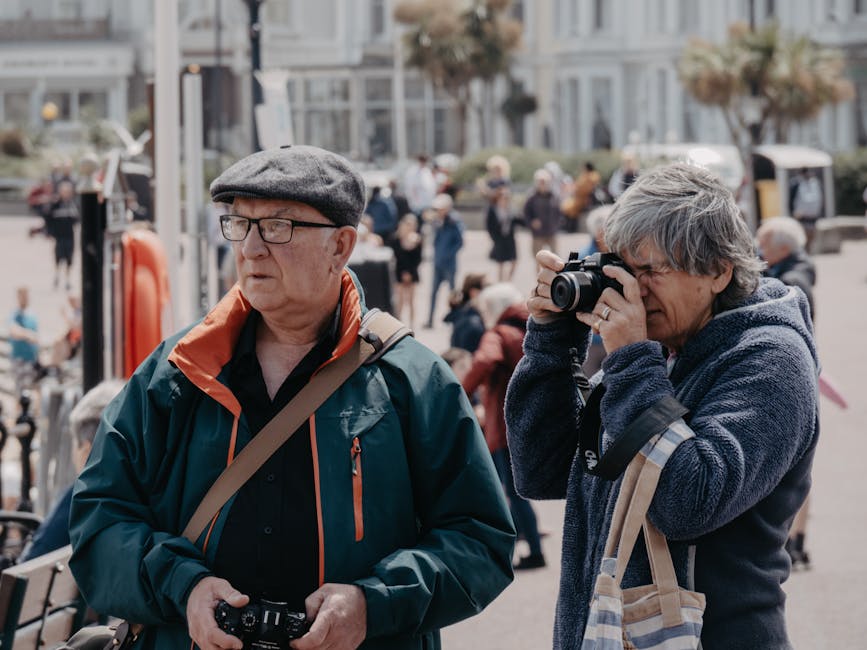
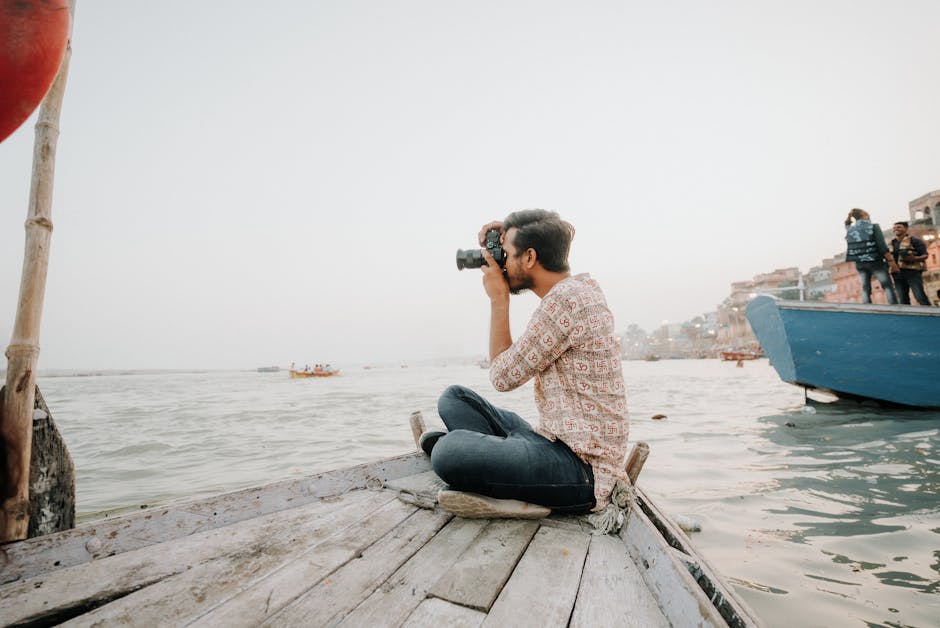
Capture People and Culture
People bring life to travel photos. Candid shots of locals at work, play, or prayer often tell the most compelling stories. But always be respectful. Smile, make eye contact, and ask before taking someone’s picture.
In some cultures, photography is sensitive. In parts of the Middle East or Indigenous communities, always seek permission. A simple gesture or phrase in the local language goes a long way.
Tell a Story
Great travel photography is narrative. Instead of just photographing a market, capture a vendor weighing fruit, a child reaching for a snack, or hands exchanging money. These details add context and emotion.
Include environmental portraits—people in their natural settings. A fisherman mending nets on a dock tells more than a close-up of his face. The surroundings reveal occupation, lifestyle, and place.
Use the Right Gear—But Don’t Rely on It
You don’t need the latest camera to take great photos. Many stunning travel images are taken with smartphones. What matters most is understanding your equipment and using it well.
If you use a smartphone, clean the lens, use gridlines for alignment, and tap to focus and adjust exposure. Avoid digital zoom—it reduces image quality. Instead, move closer or crop later.
When to Upgrade Your Gear
Consider investing in better gear if you’re serious about photography. A mirrorless camera offers excellent image quality in a compact body. Look for models with good low-light performance and weather sealing.
But remember: gear won’t make you a better photographer. Skill, observation, and patience will. A $300 camera in the hands of a thoughtful shooter often outperforms a $3,000 camera used without planning.
Edit with Purpose
Editing enhances your photos, but it can’t fix a poorly composed or blurry shot. Use editing to correct exposure, adjust colors, and sharpen details—not to create unrealistic effects.
Stick to one editing style for consistency. If you prefer warm tones, apply that across your portfolio. Use presets sparingly; customize them to match each photo’s lighting and mood.
Use Free or Affordable Tools
You don’t need expensive software. Lightroom Mobile (free with basic features) and Snapseed (free on iOS and Android) offer powerful editing tools. Adjust highlights, shadows, and clarity to bring out texture in landscapes or skin tones in portraits.
Avoid over-saturating colors. A photo of a turquoise lagoon should look natural, not neon. Subtle adjustments often have the biggest impact.
Stay Safe and Respectful
Your safety and the respect of locals matter more than any photo. Never put yourself in danger for a shot—don’t climb unstable structures or wander into restricted areas.
Be mindful of theft. Keep your camera secure in crowded areas. Use a crossbody strap and avoid flashing expensive gear. In some destinations, consider using a discreet camera cover or shooting with a smaller model.
Follow Local Laws and Customs
Some countries restrict photography in certain areas—government buildings, military zones, or private property. Always check local regulations. In places like North Korea or parts of Iran, unauthorized photography can lead to serious consequences.
Respect privacy. Don’t photograph people sleeping, grieving, or in vulnerable situations. When in doubt, ask or skip the shot.
Backup Your Photos Daily
Losing your images to a dropped camera or corrupted card is heartbreaking. Back up your photos every day. Use a portable hard drive, cloud storage, or both.
Carry extra memory cards and batteries. A dead battery or full card can ruin a perfect moment. Label your cards and keep them in a protective case.
Organize as You Go
Create folders by date or location. Add brief notes about each photo—where it was taken, who’s in it, or what was happening. This makes editing and sharing easier later.
Delete blurry or duplicate shots daily to free up space. But keep a few “just in case” extras—you might surprise yourself in post-processing.
Practice and Reflect
The more you shoot, the better you’ll get. Take your camera everywhere—even on short walks. Practice different techniques: panning for motion blur, bracketing for HDR, or focusing on textures.
Review your photos regularly. Ask yourself: What worked? What didn’t? Which shots tell a story? Learning from your mistakes is part of growth.
Learn from Others
Study travel photographers you admire. Analyze their composition, lighting, and subject choices. Follow photography blogs, YouTube channels, or Instagram accounts for inspiration.
Join online communities or local photo walks. Sharing feedback helps you see your work through new eyes.
Final Thoughts
Better travel photography isn’t about gear or luck—it’s about preparation, observation, and respect. By planning ahead, mastering light, and focusing on composition, you’ll capture images that go beyond snapshots. These best travel tips for better travel photography days will help you create a visual story that lasts long after your trip ends.
Remember: the goal isn’t perfection. It’s connection—to a place, a moment, or a person. Shoot with intention, stay curious, and let your photos reflect the journey, not just the destination.
FAQ
What’s the best time of day for travel photography?
The golden hours—just after sunrise and before sunset—offer the most flattering light. The sun is low, creating warm tones and soft shadows ideal for landscapes and portraits.
Do I need a professional camera to take great travel photos?
No. Many excellent travel photos are taken with smartphones. What matters most is understanding composition, lighting, and timing. Use your current gear well before upgrading.
How can I avoid losing my photos while traveling?
Back up your images daily using a portable hard drive or cloud storage. Carry extra memory cards and batteries, and keep your gear secure in a padded bag.