
Ultimate Travel Tips for Easy Airport Navigation
Navigating airports doesn’t have to be stressful. With the right preparation and mindset, you can move through terminals efficiently, avoid common pitfalls, and even enjoy the journey. Whether you’re a first-time flyer or a seasoned traveler, these proven strategies will help you breeze through check-in, security, and boarding with confidence. From packing smart to understanding gate changes, this guide covers everything you need for smooth airport navigation.
Plan Ahead: The Foundation of Stress-Free Travel
Preparation starts long before you reach the airport. Research your destination’s entry requirements, including visa rules, health documentation, and customs regulations. For example, some countries require proof of return tickets or vaccination records—missing these can delay or deny boarding.
Check your airline’s baggage policy early. Weight limits, size restrictions, and fees vary widely. A compact carry-on that meets most airlines’ dimensions (typically 22″ x 14″ x 9″) saves time and money. Packing a personal item like a small backpack or tote gives you extra space for essentials without extra cost.
Use Digital Tools to Stay Informed
Download your airline’s official app. Most offer real-time flight updates, gate changes, and boarding alerts. Enable push notifications so you never miss a change. Apps like FlightAware or Google Flights also track delays and provide alternative routing suggestions.
Save digital copies of your passport, boarding pass, and itinerary in your phone. Cloud storage or note apps ensure access even if your device runs low on battery. Avoid relying solely on printed documents—they can be lost or damaged.
Arrive Early—But Not Too Early
Arriving two hours before domestic flights and three hours before international departures is standard advice. However, during peak travel seasons or at busy hubs like Atlanta (ATL) or Chicago O’Hare (ORD), add an extra 30–60 minutes.
Use TSA PreCheck or CLEAR if available. These programs reduce wait times significantly. PreCheck members enjoy expedited security screening at over 200 U.S. airports, often bypassing shoe and laptop removal. CLEAR uses biometric verification to speed up identity checks.
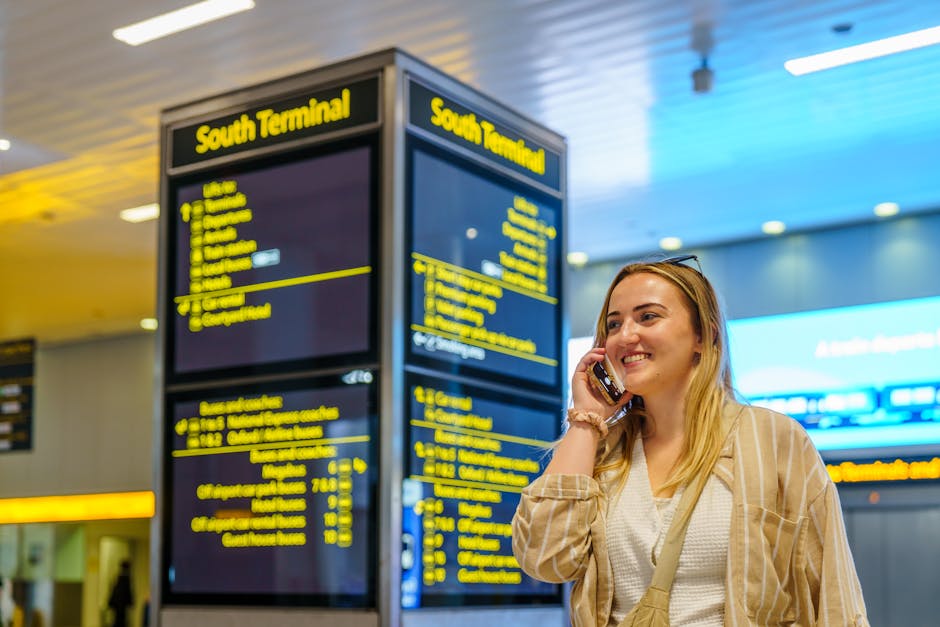
Master Airport Layouts and Signage
Every major airport has a website with terminal maps, restaurant listings, and transportation options. Study your departure and arrival airport layouts in advance. Look for key landmarks like restrooms, charging stations, and quiet zones.
Airport signage follows international standards: blue for gates, green for exits, yellow for services. Digital displays update frequently—check them regularly. If you’re connecting, note the distance between gates. At Dallas/Fort Worth (DFW), for instance, walking from Terminal A to Terminal D can take 15–20 minutes.
Know Your Terminal and Concourse
Large airports often have multiple terminals connected by shuttles, trains, or walkways. For example, Denver International Airport (DEN) uses an underground train to move passengers between concourses. Allow time for transfers—especially if you’re changing airlines.
Some terminals have post-security amenities like lounges, showers, or nap pods. If you have a long layover, locate these in advance. United Club and Priority Pass lounges offer quiet spaces, Wi-Fi, and light meals.
Use Wayfinding Apps and Interactive Maps
Apps like GateGuru or Airport Butler provide indoor maps, real-time gate info, and user reviews of food and shopping. They’re especially helpful in unfamiliar airports. Some airports, like San Francisco (SFO), offer free Wi-Fi with interactive terminal maps accessible via browser.
Look for digital kiosks near information desks. These often include multilingual support and can print boarding passes or directions. Staffed information counters are also reliable—don’t hesitate to ask for help.
Streamline Security Screening
The Transportation Security Administration (TSA) recommends removing laptops, liquids, and large electronics from carry-ons. Place them in separate bins to speed up the X-ray process. Liquids must be in containers of 3.4 ounces (100ml) or less and fit in a single quart-sized bag.
Wear slip-on shoes and avoid belts, jewelry, or heavy layers that require removal. Metal detectors and full-body scanners are standard, but advanced imaging technology (AIT) is used in most U.S. airports. You can opt-out, but it may result in a pat-down.
Pack Smart to Avoid Delays
Use clear, resealable bags for toiletries and electronics. Organize cords and adapters in a dedicated pouch. This makes inspection faster and reduces the chance of items being confiscated.
Avoid packing prohibited items like sharp objects, flammable materials, or large bottles of liquid. The TSA website lists banned items clearly. When in doubt, check online or pack it in checked luggage.
Traveling with Children or Special Needs
Families with young children can use family lanes at many security checkpoints. Strollers and car seats must go through X-ray, so allow extra time. Pack snacks and activities to keep kids occupied during waits.
Passengers with disabilities or medical conditions should inform airline staff during booking. Wheelchair assistance, priority boarding, and medical equipment accommodations are available. Arrive early to ensure timely support.
Navigate Check-In and Baggage Efficiently
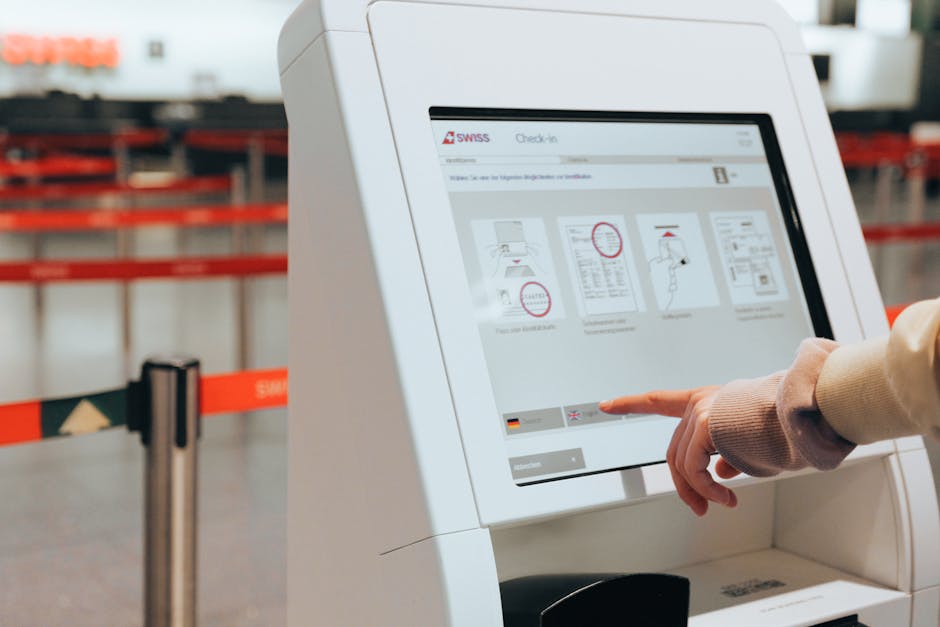
Check in online 24 hours before departure. This lets you select seats, add baggage, and receive your boarding pass digitally. Avoid airport kiosks unless necessary—they often have lines and technical issues.
If checking bags, use curbside drop-off if available. Many airports offer this service for a small fee, saving time inside the terminal. Confirm your bag tags match your destination—mismatched tags cause delays.
Understand Baggage Claim Procedures
After landing, follow signs to baggage claim. Most airports use carousels labeled by flight number or airline. Wait near your assigned carousel—bags are usually delivered within 15–30 minutes.
If your bag is missing, report it immediately at the airline’s baggage service office. Provide your baggage claim ticket and flight details. Most airlines track bags electronically and deliver them to your hotel if found.
Consider Carry-On Only Travel
Traveling light eliminates checked bag fees and reduces wait times. A well-packed carry-on with versatile clothing can last a week. Use packing cubes to organize items and maximize space.
Keep essentials like medications, travel documents, and a change of clothes in your personal item. This ensures you’re prepared if your checked bag is delayed or lost.
Handle Delays and Gate Changes Gracefully
Flight delays and gate changes are common. Monitor departure boards and your airline app for updates. If your gate changes, note the new location and walking time. At busy airports, use moving walkways to save energy.
If delayed, use the time wisely. Charge devices, grab a meal, or explore duty-free shops. Some airlines offer meal vouchers or lounge access for long delays—ask at the gate.
Stay Connected and Powered Up
Free Wi-Fi is available at most major airports, though speeds vary. Use it to check email, stream entertainment, or video call family. Avoid sensitive transactions on public networks—use a VPN if necessary.
Bring a portable charger and universal adapter. Outlets near gates are often crowded. Charge your phone during boarding or at quieter areas like lounges or cafes.
Know Your Rights as a Passenger
Airlines must compensate passengers for significant delays or cancellations, depending on the region. In the EU, Regulation 261 mandates compensation for delays over three hours. In the U.S., rules vary by airline and reason for delay.
Keep receipts for meals, hotels, or transportation if stranded. Submit claims promptly. Customer service desks can assist with rebooking or refunds.
Make the Most of Your Layover
Short layovers (under 2 hours) require efficiency. Stay near your gate and avoid leaving the secure area. Use restrooms and grab snacks before boarding.
Longer layovers (4+ hours) offer opportunities to explore. Some airports have museums, gardens, or observation decks. Tokyo Haneda (HND) has a traditional Japanese garden, while Denver (DEN) features art installations and a rooftop deck.
Explore Airport Amenities
Modern airports offer more than just gates. Look for yoga rooms, pet relief areas, or quiet zones. Miami International (MIA) has a meditation room, and Amsterdam Schiphol (AMS) offers a library and museum.
Food options range from fast food to fine dining. Avoid overpriced airport meals by researching ahead. Apps like Yelp or Google Maps show ratings and prices near your gate.
Stay Comfortable and Healthy
Airport air is dry and recycled. Stay hydrated with water—avoid excessive caffeine or alcohol. Use a moisturizer and lip balm to prevent dryness.
Move regularly to improve circulation. Walk between gates, stretch, or use airport gyms if available. Compression socks can reduce swelling on long flights.
Final Tips for Smooth Airport Navigation
Wear comfortable, layered clothing. Airports can be chilly, but planes may be warm. Avoid restrictive shoes or outfits that are hard to remove during security.
Keep important items accessible. Store your passport, boarding pass, and phone in an easy-to-reach pocket or bag. This saves time at checkpoints and boarding.
Stay calm and patient. Airport staff are there to help. A polite attitude goes a long way—especially during delays or crowded periods.
FAQ
How early should I arrive at the airport for an international flight?
Arrive at least three hours before your scheduled departure. This allows time for check-in, security, customs, and potential delays. During holidays or peak seasons, add an extra 30–60 minutes.
Can I bring snacks through airport security?
Yes, solid food items like sandwiches, fruit, and granola bars are allowed in carry-on bags. Avoid liquids or gels over 3.4 ounces. Check the TSA website for specific restrictions.
What should I do if my flight is delayed or canceled?
Check your airline’s app or website for rebooking options. Contact customer service for assistance. If stranded, ask about meal vouchers, hotel accommodations, or compensation—especially in regions with passenger protection laws.